Friday 20 June 2014

[Assignment 4] Painting to Music

This assignment was held for only one class. What we have to prepare is just paint, paper and a music playlist. The students prepared contemporary music while our lecturer prepared classical music.

We started off by closing our eyes and listen to at least 60 seconds of the song, and when we got the feel of it, we moved on to painting our blank paper. I used a water colour paper and a canvas. We were free to use any kind of painting techniques.


Even with our hands!


I splashed the whole water colour paper with water, then just let the paint flow.


Then disaster happened. I flooded the paper too much that the colour accumulated together in one giant puddle. I tried to rectify it by swirling the whole thing, but it got worse. In the end, it dried up and became this :(


We were allowed to sit on the floor and paint :D


Ms. Lisa was looking at how all of us were doing.


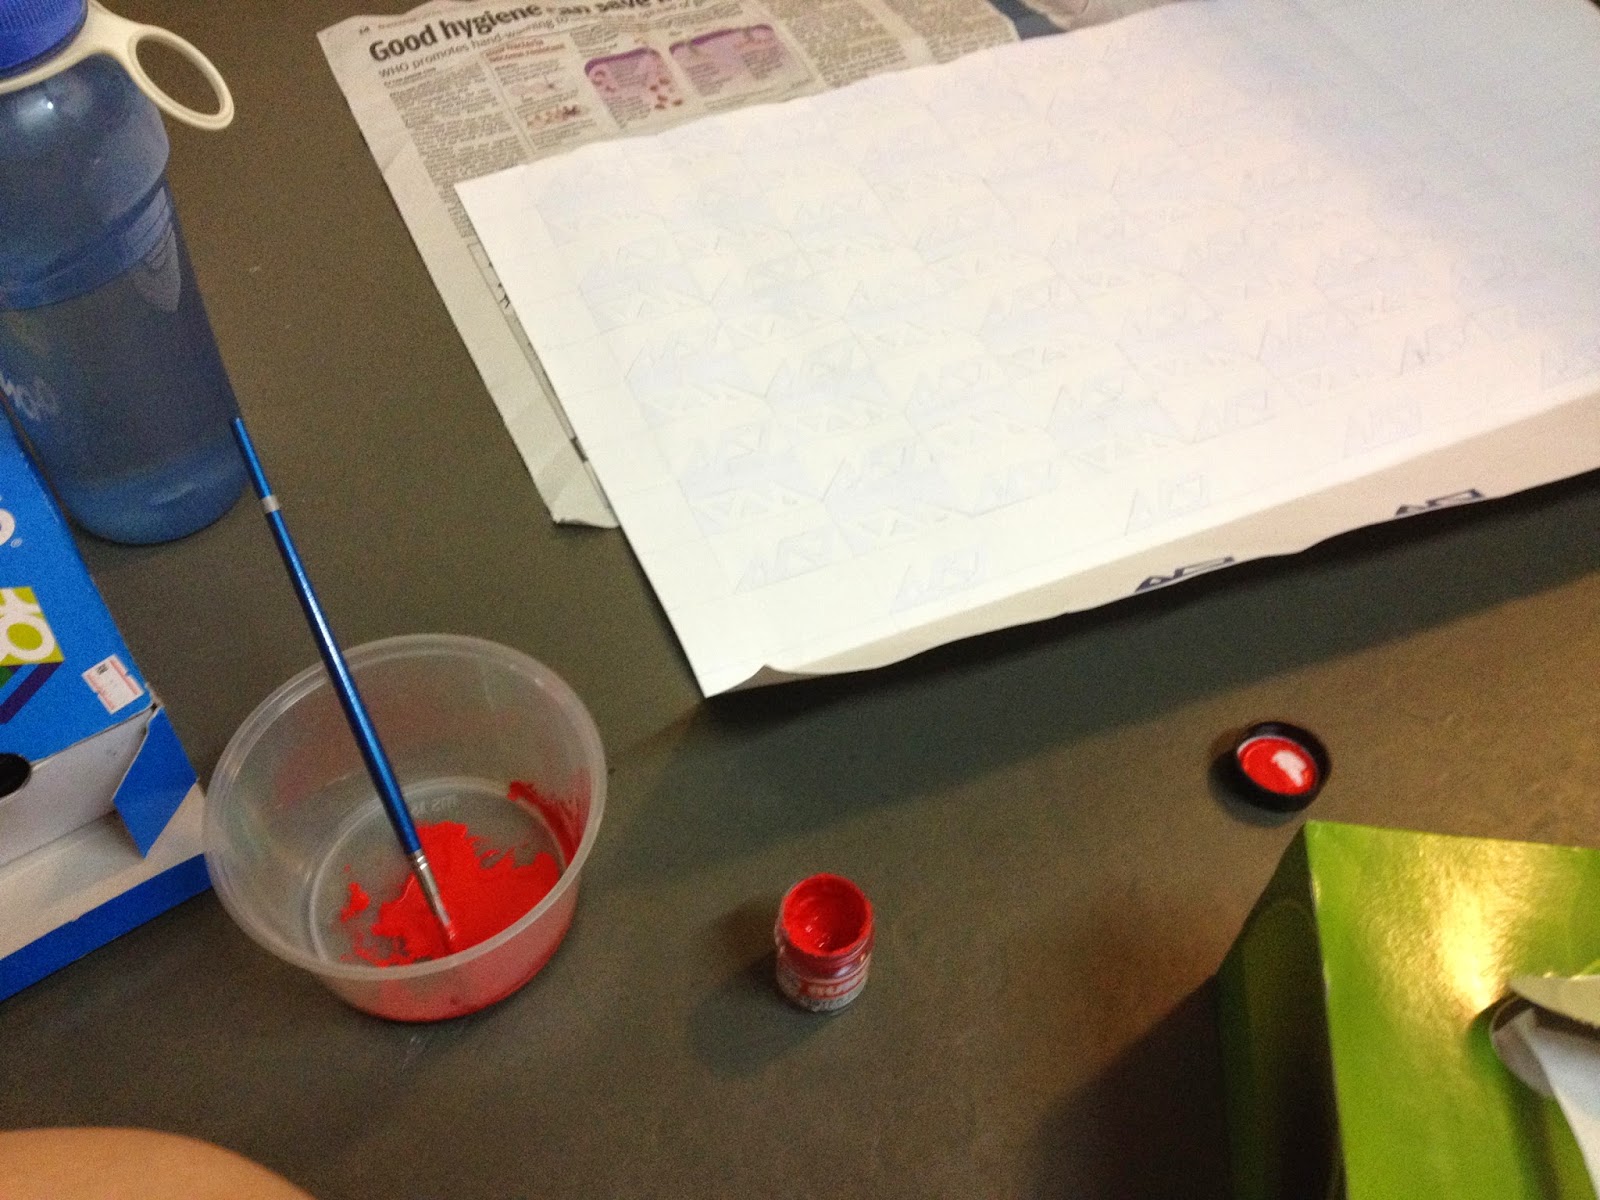
Everyone looked very busy!


The best part came. When Ms. Lisa turned on classical music, me and one of my friends, Cheryl came up with this crazy idea. We were to squirt acrylic onto our canvases and slam them together, then dance to the music to create an artwork that can never be the same twice.


And this was the result! We squeezed gold, red gold and black onto both our canvases. I would definitely hang this onto my wall. Cheryl will take hers back home and hopefully, she'll keep it safe as well. It has become sort of a symbol of friendship, with two paintings connecting us together no matter the distance.


It was a pretty good experience. We were more exposed to different possibilities - listening to music and paint according to our feelings, and using different painting techniques (slamming two canvases was one of the best ideas we had this year). I understood that there is no limit to designing and there is definitely no restrictions on how we come up with amazing ideas.

Tuesday 3 June 2014

[Assignment 3] 'Batik' Presentation

"When there's an assignment, there is always presentation."
- Vanessa

We set up all our artworks, as usual, for Ms Lisa to evaluate them. We also have to tell her our batik process, what we learnt and what was the most difficult thing we faced.


We stuck the batik onto the wall. The people at the batik factory helped us get rid of the wax and they sent them back to us in time.


Everyone was working very hard to display their artworks the best they can.


My team mates chilling by the window.


Presentation time! Everyone of us had a lot to say.


One group was creative enough to place their work onto a swivel chair, which reminded me of a lantern.


One of our classmates, Danny, talked for more than 5 minutes, explaining a lot more than the whole class combined! This showed he did his research!


Ms Lisa was choosing her favorite piece XD


It was a really amazing experience overall. I have never done batik before, but now if anyone asks me, I can tell them what the whole class did. 


Wednesday 28 May 2014

[Assignment 3] 'Batik' Execution

We started our journey to the batik factory around 9.30 in the morning. We took a tour bus there armed with our designs, pencils and amateur skills. It was around 45 minutes ride and the tour guide there was nice enough to explain what we would be doing when we get there.


The first process was sketching the designs. We stuck the drawing under the batik with masking tape so we could trace it out without having to redraw.


The people there was nice enough to help us handle and scoop the hot wax. 


Putting the wax using the 'candik' was a tough process. Since the wax was in liquid form, we had to control how much wax we needed for the cloth. If we tipped it too much, a lot will spill out. We also had to change the wax often as it dried out too quickly.


We were spoilt for choice. There were so many colors to choose from! Best of all, we can mix the colors to form new ones!


We needed to be very careful because we cannot allow room for mistakes. Once a mistake is made, there is no rectifying it! 


Soon, the place was full of colorful batik, which was at first just an empty piece of cloth.


These were the outcomes:


We dealt with lots of problems along the way. Drawing the designs using wax was not as easy as pencil or pen. It requires a great amount of skills and experience to master it. We learnt that drawing straight lines with wax would never work free handed. And never give tolerance to semi-dry wax, because it would not seep though the other side of the cloth and it would not be able to stop the colors from flooding to the other parts.


Basically, we had a lot of fun. And all the effort and hard work finally paid off.

Tuesday 27 May 2014

[Assignment 3] 'Batik' Designing

Each of the member contributed ideas into our design. We first traced it out with pencil, then darken it with black marker. We drew it on A4 size first and then enlarge it into A3. This is because the blank piece of batik provided will be in A3 size.


We even translated our names by using hieroglyphs. We chose a picture each and added our names it to make each piece more individualistic. It was very fun and also made me wonder how difficult it was to draw out letters instead of writing them like what we do today.

Wednesday 21 May 2014

[Assignment 3] 'Batik' Research

Batik is a fabric painting process that uses wax to outline the desired shapes and patterns, dyeing it with color and then removing the wax in boiling water.


Source: http://news.bbcimg.co.uk/media/images/62834000/jpg/_62834373_batik.jpg


Source: http://www.malaysia-for.com/images/uploads/batik-creation-malaysia.jpg


For this assignment, we were asked to make our own batik, and I was quite glad it was a group work. We did a bit of research and to also choose a theme for this batik project.

We short listed these:


A maze with cuddly characters


Samurai at war


Pixelated pictures


Bathroom tiles (almost similar to pixels)


But then what caught our eye was this:


It is traditional, yet has this modern twist to it. This depicted a man wearing a traditional Japanese outfit, and at the same time, he's listening to an MP3. We thought it would be fun and humorous to do.

In the end, we chose to draw Egyptian culture, applying modern elements inside it.

Wednesday 14 May 2014

[Assignment 2] 'Monograms' Closure

The last day of this assignment has finally come! We arranged all our stuff in a 'booth' fashion. And it actually looked nicer than I expected.


We were asked to present all our six items, the pattern and the poster. I placed them all on top of two pieces of red and beige pillowcase since I didn't have a tablecloth 


Ms. Lisa went around our items, giving comments and feedback along the way. For my presentation, she mentioned that mine was not united - the colors did not go well together. The good thing was that she liked the poster, which I was quite happy about. The challenge was to cut all the stencils, and my favorite part was finishing the whole assignment (very truefor  everyone, even if they did not mention it).

Needless to say, everyone had fun!


I felt a sense of accomplishment after the whole thing. We'd been  busy over this for weeks and it's finally over - with a happy note :)

Tuesday 13 May 2014

[Assignment 2] 'Monograms' Poster

The last thing we have to do for Monograms is the poster. At first I thought it would be like a movie poster with the words 'Coming Soon' overhead, but thank god it was much simpler. After dealing with the patterns, this was quite easy to handle.


I cut my name out on a piece of sticker. I love the stickers so much!


Mixing a bit of paint here and there...


The painting process was quite messy since I used an old dish washer sponge. I have to layer newspapers so my table did not get dirty. A lot of tissue were involved too.


I hair-dried the poster to quicken up the drying. Then I peeled the sticker off very slowly.


And the poster is done!


Monday 12 May 2014

[Assignment 2] 'Monograms' Patterning Attempt 2

 Painting is even nerve wrecking than cutting and pasting. Because once you make a mistake, it will be all gone in a blink of an eye.


Red paint at the ready. It was important to make sure it was not too wet or the colour will penetrate the stickers and onto the paper.


Dipping an old sponge into the paint.


Here goes!


Quickly drying the paint with a hair dryer before it softens the sticker too much.


Sacrificial top left corner.


AACCCKKKK! I'm bleeding!!!


It looked like someone had just spat blood all over it.


I watched a short movie while waiting for the paint to dry. I was super worried and my attention was not fully focused on the show. Then after an hour or so, I decided it was dry enough to peel off.


Deng deng deng ~~~ 


It worked!!!


After painful five hours, I peeled them all off. It was a dull task, as the stickers were quite fragile already and I had to make sure I do it slowly or the stickers will tear into upper and lower half layers.


Cutting them into A3 size, which I had measured beforehand.


Patterning done! :D


It was a unique project for me as I have never done patterning before. It took a lot of time, but it paid off in the end. Even though there are some parts that were smudged, peeled, torn by accident, it was still a good try.


"Have patience with all things, But, first of all with yourself."

- Saint Francis de Sales